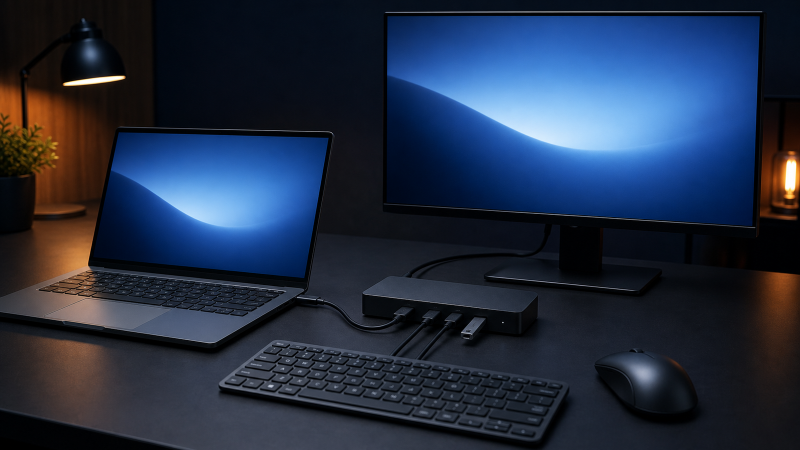
If another dock function works but its USB ports do not, start with one simple USB data device. Connect the dock directly, use the specified upstream cable and power supply, test one known working keyboard or mouse in each documented data port, then test that device directly at the Chromebook.
This is a ChromeOS procedure. Do not install a Windows dock driver, use Device Manager instructions, enter developer mode, or Powerwash the Chromebook.
A dock port can provide power while its USB data path is absent. Charging does not prove data.
The Chromebook must see the dock or another dock function must work. A monitor, Ethernet connection, or one working USB device is useful evidence. Charging alone is not.
Start with the exact ChromeOS state
| What you see | What it suggests | Next check |
|---|---|---|
| No dock function works | The failure is broader than downstream USB | Chromebook port support, upstream cable, and dock power |
| Monitor or Ethernet works, but all USB devices fail | The dock is partly present, but its USB hub path is not usable | Simple USB device, exact port map, direct host test |
| One USB port works and another does not | The host and at least part of the dock hub work | Port role, speed class, power, and physical condition |
| Device charges but is not recognized | Power reaches the port, but data is unproved | Use a known data device in a documented data port |
| Keyboard works, but storage is absent from Files | USB data works for one device class | Storage support, power, filesystem state, and Files message |
| Device works directly at the Chromebook but not through the dock | The dock route is isolated | Exact ChromeOS support, upstream path, dock power, and service |
| Work or school Chromebook rejects a device | Management policy may control the result | Contact the administrator |
Do not format a missing drive. Identify it first, decide whether its data matters, and record the exact ChromeOS message.
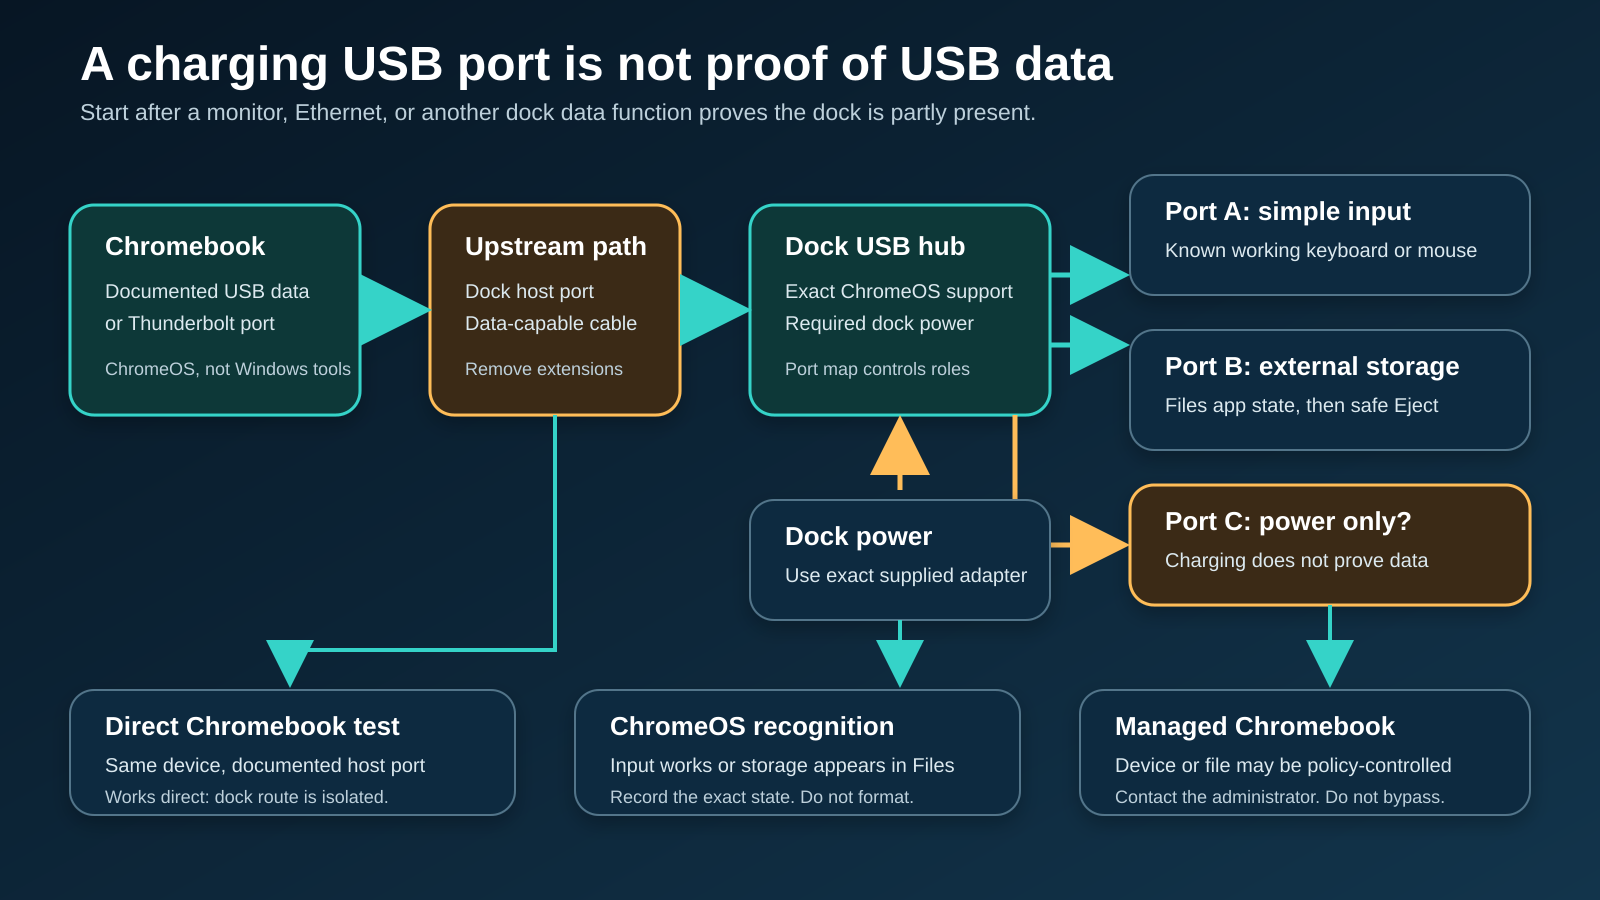
Use this shortest safe sequence
- Prove that a non-charging dock function works.
- Record the Chromebook, dock, upstream cable, power supply, and USB device.
- Remove extensions, second hubs, and nonessential peripherals.
- Test one simple, known working USB keyboard or mouse.
- Compare the dock’s downstream ports using its exact port map.
- Test the same device directly at the Chromebook.
- For storage only, record what the Files app shows without formatting.
- Finish an offered ChromeOS update and restart once.
- Check exact Chromebook, dock, and peripheral support.
- Escalate a managed-device restriction to the administrator.
Keep the same device while comparing ports, and the same dock and port while comparing devices. A clean comparison changes one variable.
Step 1: prove that the dock is partly working
Check one function that requires data or video:
- a monitor connected through the dock displays an image;
- Ethernet appears in ChromeOS;
- one downstream keyboard, mouse, storage device, or audio device works;
- ChromeOS reacts when the dock is connected and disconnected.
Charging is not enough, because USB Power Delivery can work without a usable downstream data path. The USB Power Delivery explainer covers that separation.
If no data, network, audio, or display function works, stop the downstream-port sequence. Check:
- whether the Chromebook’s port supports the dock’s required functions;
- whether you used the dock’s host port;
- whether a removable upstream cable supports data;
- whether the dock has its required AC adapter;
- whether another direct USB device works at the Chromebook.
USB-C is a connector, not a capability statement. Our USB4 explainer covers one modern data protocol, and the Chromebook and dock manuals decide what this connection supports.
Step 2: record the exact devices and port map
Write down:
- Chromebook model;
- ChromeOS version;
- dock brand, model, and revision;
- Chromebook port used;
- upstream cable model or maker;
- dock power supply;
- USB peripheral model;
- downstream dock port used;
- which other dock function works;
- whether the Chromebook is managed by work or school.
Then open the dock’s manual or exact product support page. Find:
- the host or upstream port;
- each downstream USB-A and USB-C data port;
- charging-only ports;
- ports with different data roles or speed classes;
- the dock’s required power supply;
- ChromeOS compatibility;
- any certified firmware-delivery method.
The StarTech DK31C3MNCR shows why this matters. Its official datasheet identifies a separate USB-C host connector, several downstream USB ports, both USB 10Gbps and USB 2.0 port roles, required AC power, and ChromeOS-only compatibility. Those facts apply to that exact model. Another dock can have a different layout even if it looks similar.
If you are still choosing a compatible dock rather than repairing one, use the Chromebook docking-station guide. Stay with diagnosis while the current dock remains untested.
Step 3: simplify the USB path
Connect the dock directly to the Chromebook. Remove:
- USB-C extensions;
- couplers;
- a second hub;
- a KVM;
- storage you are not testing;
- phones and tablets that may charge;
- webcams and capture devices;
- every unnecessary downstream peripheral.
Attach the dock’s required power supply. Use the upstream cable supplied or specified by the dock maker. If the cable is removable, confirm that it supports USB data. A charge-only cable can power or charge a device without carrying the needed data.
Do not replace the cable because it has a USB-C plug. If controlled comparison isolates it, the USB-C cable guide is the commercial route.
Step 4: test one simple USB data device
Use a basic wired USB keyboard or mouse that already works on another computer, which keeps the first comparison simple:
- ChromeOS supports those peripheral categories;
- the result is visible without opening the Files app;
- the device usually needs less power than storage or a complex accessory.
Connect it to the first downstream data port named in the dock manual. Wait for ChromeOS to react. Test input.
Then move the same device to each other documented downstream data port, one at a time. Record:
| Port label | Manual says | Device result |
|---|---|---|
| Port 1 | Data role and speed class | Works or fails |
| Port 2 | Data role and speed class | Works or fails |
| Port 3 | Data, charging, or shared role | Works or fails |
If one port works, the Chromebook, upstream cable, dock hub, and test device form a working path. Focus on the failing port’s documented role.
If every port fails while another dock function works, the hub branch, upstream data mode, power, or ChromeOS support remains open.
Do not use a phone’s charging symbol for this test. It does not prove that ChromeOS sees a USB data device.
Step 5: test the same device directly
Disconnect the dock. Connect the same keyboard or mouse directly to the Chromebook using the Chromebook’s documented port and a simple adapter only if required.
Keep the peripheral fixed.
- If it fails directly, the dock has not been isolated. Check the Chromebook port, peripheral, adapter, and ChromeOS support.
- If it works directly but fails through every dock data port, the dock path is isolated.
- If it works directly and in one dock port but not another, the individual port or its documented role is isolated.
Repeat with a second known working device only after the first comparison is complete. Do not change dock, upstream cable, device, and ChromeOS version together.
A basic USB-C hub can be a controlled comparison if it is already available and documented for the Chromebook. The USB-C hub guide is a shopping handoff only after the current dock route is isolated.
Step 6: handle storage as a separate branch
Storage needs a different observation, because it should appear in the ChromeOS Files app.
Open Files from the Launcher. Connect the storage device to a documented downstream data port. Look in the left sidebar for the device name.
Record one of these states:
- the device appears and opens;
- the device appears but a partition cannot be mounted;
- ChromeOS says the external storage device is not supported;
- ChromeOS says the device was not recognized;
- nothing changes.
If the drive appears, use Eject before unplugging it. Google explicitly documents safe ejection for external storage.
If the drive is not recognized or cannot be mounted, stop before formatting. Google’s Chromebook guidance warns that formatting erases stored files. Determine:
- the exact storage device;
- whether it contains needed data;
- whether it works on another computer;
- whether ChromeOS supports its filesystem;
- whether the drive needs more power than the dock port supplies.
This is not a data-recovery guide. If the data matters and the drive is unreadable on more than one computer, preserve it and seek qualified storage help.
If a keyboard works through the same port but a drive does not, USB data is present. The boundary is the drive, filesystem, power need, or device-class support, not a dead dock hub.
Step 7: separate power from data
A downstream port can have several independent properties:
- USB data;
- device power;
- charging behavior;
- display output on some USB-C ports.
The StarTech certified-dock example lists USB ports with different data rates and one USB-C port that can share data and display behavior. It also has a separate host connector. That exact map prevents the user from mistaking a downstream port for the host path.
Apply the method to your dock:
- use only a port documented for downstream data;
- connect the dock’s required power supply;
- compare a low-power input device with a higher-power storage device;
- do not assume a charging port carries data;
- do not assume an unpowered dock can run every downstream device.
If a low-power keyboard works and a bus-powered drive keeps disconnecting, compare the port’s documented power with the drive requirement. Do not infer a universal wattage.
Step 8: check ChromeOS update state
Google documents this update path:
- Select the time.
- Open Settings.
- Select About ChromeOS.
- Select Check for updates if offered.
- Restart when ChromeOS asks.
Retest the same dock, cable, port, and USB device after the restart. Do not add other changes.
An update is supported maintenance, not a promise. It cannot add a missing data lane or turn a charge-only cable into a data cable.
For a certified dock, firmware may arrive through ChromeOS. StarTech says its exact Works With Chromebook model receives automatic firmware updates through ChromeOS. Do not generalize that behavior to every dock, and do not run a random Windows firmware utility on a Chromebook.
Step 9: check managed-device limits
Google warns that some devices or files may not work on a Chromebook managed by work or school. If the device works on a personal Chromebook but fails on the managed one, stop before attempting a workaround.
Send the administrator:
- Chromebook asset or model identifier;
- ChromeOS version;
- dock model;
- USB device model;
- direct-versus-dock result;
- exact Files message for storage;
- whether another dock function works.
Do not enable developer mode, install an unapproved extension, alter certificates, or bypass device policy. A policy-controlled result belongs to the administrator.
ChromeOS Diagnostics is not a general USB hub enumerator. Google’s Diagnostics page covers battery, CPU, memory, Wi-Fi, and certain input tests. Use the internal keyboard test only for the internal keyboard. Do not present a passing Diagnostics screen as proof that the dock’s USB controller works.
Exact dock support matters
Works With Chromebook is evidence for a named product, not a promise for every peripheral attached to that dock.
For the exact dock, verify:
- ChromeOS is listed;
- the host connector and included cable are identified;
- the USB port map matches the ports you tested;
- required AC power is present;
- the peripheral class is supported;
- the Chromebook port satisfies the host requirement;
- firmware delivery is documented.
The USB-C docking-station guide and USB4 hub and dock guide cover different shopping intents, and neither applies until the protocol and missing function are known.
Thunderbolt-branded docks can fall back differently on a Chromebook. The Thunderbolt generation comparison and Thunderbolt dock guide apply only after the exact documents establish compatibility.
Escalation matrix
| Result | What is isolated | Next owner |
|---|---|---|
| No non-charging dock function works | Whole dock or host path | Chromebook and dock makers |
| One USB port works, another does not | Individual port or role | Dock maker with exact port map |
| Device fails directly and through dock | Device, Chromebook port, or support | Peripheral and Chromebook makers |
| Device works directly, fails through all dock ports | Dock USB path | Dock maker |
| Keyboard works, storage does not | Storage, filesystem, or power branch | Storage maker, with data preserved |
| Offered ChromeOS update changes the result | Software state was relevant | Record the version and keep exact working setup |
| Managed Chromebook blocks a device | Administrative control | Organization administrator |
| Same setup fails on two supported Chromebooks | Dock, cable, power, or peripheral remains | Exact hardware maker |
Give support a one-variable test log. “USB ports do not work” is less useful than “the same wired keyboard works directly and in dock port 1, but not in documented port 2, with dock power connected.”
When replacement makes sense
Replace or service the dock when:
- a supported device works directly at the Chromebook;
- the exact dock documentation supports ChromeOS and that downstream port;
- the required upstream cable and power supply are present;
- the same device fails through multiple documented data ports;
- another supported dock works while the Chromebook and peripheral stay fixed.
Replace an upstream cable only after a documented compatible cable changes the result while the rest of the route stays fixed.
Replace a peripheral only after it fails directly on another supported computer and its data is safe.
Do not buy a new dock because one storage filesystem is unsupported. Do not replace a Chromebook because a managed policy blocks removable devices. Match the purchase to the isolated layer.
Frequently asked questions
Why does my phone charge from the dock but not connect to the Chromebook?
Charging proves power, not USB data. Use a documented downstream data port and a known data-capable cable, then check whether ChromeOS recognizes the device.
Where should a USB drive appear on a Chromebook?
It should appear in the Files app. Record the exact message if it does not mount. Do not format it before you know what it is and whether its data matters.
Should I install the dock’s Windows driver on ChromeOS?
No. Use ChromeOS and the exact dock maker’s Chromebook instructions. A certified dock may receive firmware through ChromeOS, but that behavior must be documented for the exact model.
Will Powerwash fix dead dock USB ports?
Powerwash is not part of this procedure. First isolate host support, upstream data, dock power, the hub path, each port, and the peripheral. Do not erase a Chromebook to test one dock.
Why does one dock USB port work while another fails?
Ports can have different data, charging, or shared roles. Compare the exact port map. If the same simple device works in one documented data port and not another, send that result to the dock maker.
What if this is a school Chromebook?
Google says some devices or files may not work on a managed Chromebook. Contact the administrator with the device models, ChromeOS version, and direct-versus-dock test results. Do not bypass policy.
Sources and methodology
This guide uses current primary sources checked on July 28, 2026: Google’s supported external-device guidance, Google’s Files app and external-storage guidance, Google’s ChromeOS update steps, Google’s Diagnostics scope, USB-IF connector-language guidance, and StarTech’s exact DK31C3MNCR Works With Chromebook datasheet.
No Chromebook, dock, cable, or USB device was physically tested for this draft. Google’s pages identify supported categories and safe ChromeOS actions, not universal product compatibility. The StarTech port and firmware facts apply only to that exact model. The reader’s Chromebook, dock, and peripheral documentation remains controlling.