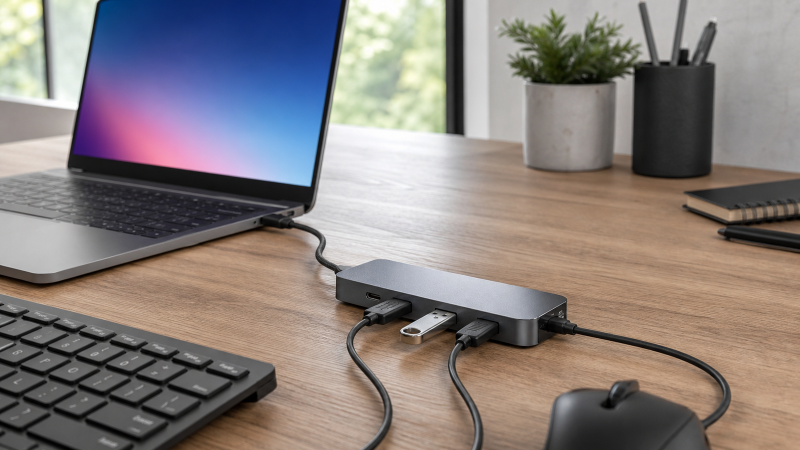
Take stock of what the dock still does before you touch anything. Plug it in and run down the list: the laptop is charging, a monitor is lit, Ethernet is up, audio plays, the card reader mounts, and some of the USB-A and USB-C ports still respond. A dock that charges and drives a screen has not died. It has lost one job, the downstream USB data path, and how much of that path is gone decides everything that follows. So the inventory is the whole opening move here, not a formality.
That quick check usually lands you in one of three places, and each has its own section below: none of the dock’s USB ports work, one port or one device fails while the rest are fine, or a drive works until it suddenly drops off. If the inventory points somewhere else, this is the wrong page. A whole dock missing from Windows starts with the Thunderbolt detection checklist, Ethernet on its own belongs in the dock Ethernet guide, and a dark monitor belongs in the USB-C monitor guide.
Power reaching a port and data crossing a port are two different results. A phone that charges from a dock port has shown you the first and told you nothing about the second, so watch for that trap the whole way through.
First, does the device work straight on the computer?
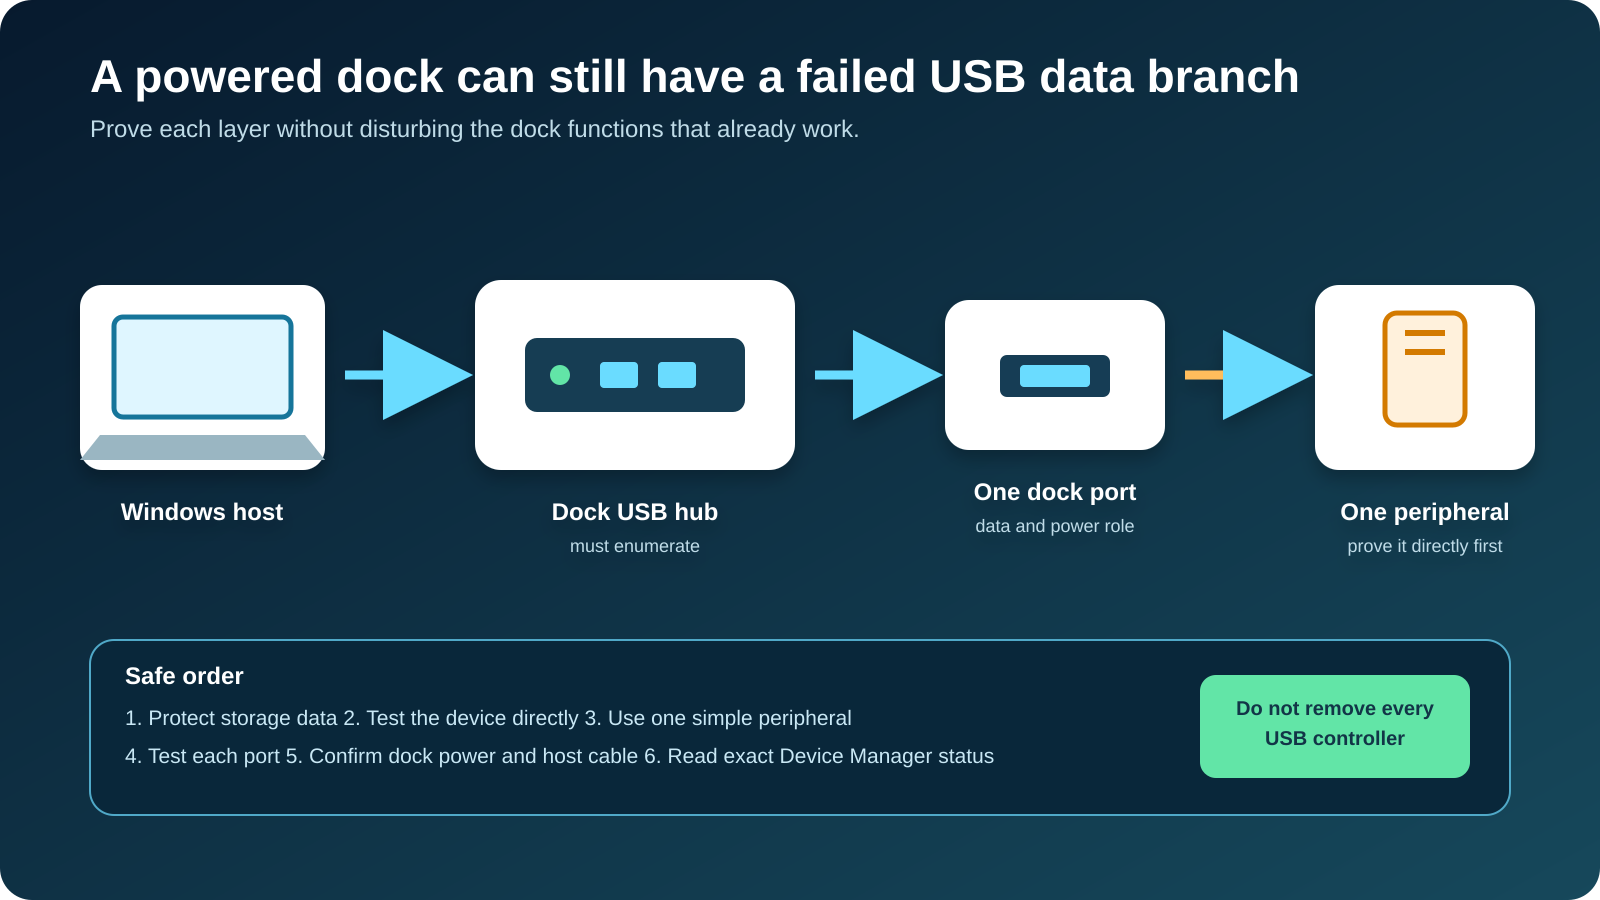
No matter which of the three you have, this is the first move. Unplug the failing peripheral from the dock and connect it straight to a compatible port on the computer with its normal cable. For a mouse or keyboard, check that input actually reaches Windows. For a drive, check that it appears without starting a big transfer. For a phone, unlock it if its data mode needs that, and watch whether Windows sees a device rather than whether the battery icon changes.
- It works straight on the computer. Keep that peripheral and cable as your reference for every later test.
- It fails straight on the computer too. The dock is off the hook for now, so go to the peripheral maker’s support.
- It works on one direct port but not another. Check the computer’s own port map before you go back to the dock.
Never count charging as a working USB test. USB-IF guidance separates the USB-C connector from data, power, and every other capability, so a charging port only tells you some power is present. If the peripheral uses a removable USB-C cable, the USB-C cable test guide explains why a charge and a data link answer different questions. Use a plain keyboard or mouse for the first dock-port test, never your only copy of a file, and never run a speed benchmark against important storage over a connection you already suspect.
When none of the USB ports work
If not a single downstream port comes up while video or charging still runs, the suspect is the dock’s USB controller or its host link, not any one port. A half-powered dock is the thing that fools people here, because the lights and the charging can run while the USB controller never starts at all. Connect the dock’s approved power supply if the manual calls for one, make sure the connector is fully seated, and check any power light against what the manual says it should show.
Then make sure the host cable is in the dock’s upstream or host port, not a downstream USB-C port it happens to fit. Use the supplied host cable if the maker asks for it, and if you have to substitute, match the data and display needs rather than charging wattage; the USB-C cable guide helps once the host cable is the proven suspect. Pull any extension, coupler, second hub or dock, KVM passthrough, monitor USB passthrough, or adapter between the computer and the dock, keeping the computer’s host port fixed. If the dock’s USB hub only shows up once an extension is gone, the fault followed that extension, which is not the same as blaming every extension. If the maker lists another USB-C or Thunderbolt host port on the computer, try it after noting how things stood. When the hub is still absent with all of that cleared, this is a dock-maker case: keep the model and revision, the host port and cable, and the list of functions that still work. If that controller is genuinely dead and the host runs Thunderbolt, a replacement matches the host, which the Thunderbolt docking station guide sorts by protocol.
Is the dock’s USB hub even there?
Right-click Start, open Device Manager, and leave it open while you connect the dock with one simple peripheral attached. Watching the tree change as you plug in beats any single snapshot. Look under Universal Serial Bus controllers, Universal Serial Bus devices, Human Interface Devices for a mouse or keyboard, Disk drives and Storage controllers for storage, and Other devices for anything unlabeled, and switch to View, Devices by connection to see what sits below a hub. You want a dock USB hub or a named dock part, the known-good peripheral below it, any new Unknown USB Device, a yellow warning icon, and any entry that flickers in and out as you connect and disconnect.
Open the entry’s Properties and copy the Device status text and code word for word. Microsoft publishes guidance keyed to each code, and a paraphrase sends you to the wrong fix. The reading splits cleanly. If the hub appears but the peripheral does not, look at the downstream port, the peripheral cable, and the peripheral. If neither the hub nor any downstream device appears while other dock functions keep going, look at the dock’s USB path, the host cable, the upstream connection, and the dock maker. The Windows USB-version detection guide helps you read what came up, and the USB speed shown describes only the route in front of you.
The Device Manager reading is also the point where software finally earns a turn, and the restraint is the same for all three situations. Run Windows Update and any recommended hardware updates, then work through the computer and dock support pages, matching the computer model and Windows version, the dock model and revision, the host controller package, the dock firmware, and any driver the peripheral needs. Read the release notes, apply one change at a time on steady power, and recheck the same single-peripheral result after each one. Do not reach for generic driver-download utilities, firmware built for a dock that only resembles yours, or a BIOS change copied from a different computer family, and do not touch any of it before you have the physical route and the Device Manager status in hand.
When one port or one device is the only failure
If most ports work and one does not, take one known-good wired mouse or keyboard and walk it across the dock’s ports, one at a time. A low-power input device gives a clean test and risks no files. Note whether it powers on, whether Windows plays a connection sound, whether Device Manager changes, whether input works, and whether it drops on its own. One change at a time, because a result that shifts when two things moved tells you nothing.
Keep the dock’s port map open while you do it, because a USB-C-shaped socket on a dock can be any of these:
- the host upstream connection;
- a downstream data port;
- a downstream Thunderbolt port;
- a power-only input;
- a charging-focused output;
- a display output with a different data role.
The shape does not set the role, the manual does. Microsoft’s Surface USB-C Travel Hub is a clear example of one product with separate upstream USB-C, downstream USB-A, display, and network roles, and those roles are about that hub, not docks in general. If the mouse works on several ports and fails on one, try the failed port again with a second simple known-good device. When both fail only there and the manual gives that port a data role, that is a port-specific case for the dock maker, worth raising with the port name and the manual page.
Power, or data?
When a device draws power at a port but never appears in Windows, keep the two facts apart on purpose. A phone can charge for hours while Windows never sees it, a keyboard’s backlight can glow with no keystrokes reaching the computer, and a dock’s charging port can be built mostly to push power. So ask two questions at every port: does the peripheral get power, and does it show up as a usable data device in Windows? Never fold them into “the port works,” because that phrase hides the fault.
For a downstream USB-C port, check the manual for its data role and any charging-only note. For a USB-A port, check for a special charging or wake function, since a printed symbol does not mean the same thing on every dock. For a bus-powered drive or a capture device, read the power needs in both the peripheral and dock manuals, because wattage limits vary by port and by dock and there is no single threshold. When a simple mouse works and a hungrier device does not, run that device from its own power supply if it has one, holding the cable and port fixed. A change there makes power part of the story for that setup, though it still does not convict the dock on its own. The USB-C power-meter guide covers the measuring gear, and a power reading never stands in for USB data.
When a drive works, then drops off
Storage gets its own section because your files are on the line, so the safety comes first and stays here where it belongs. If the failing peripheral is a flash drive, external SSD, hard drive, card reader, or phone holding files you cannot replace, stop the repeated disconnect tests until a second copy exists somewhere else. A connection that keeps dropping can cut a transfer or a file-system write off partway, and no guide undoes that. If Windows offers to scan, repair, initialize, or format a drive, do not click through it as a routine step. Confirm which drive Windows means, and protect the data first.
With that settled, the usual shape is a drive that runs fine alone and drops once other devices join it. Start from one simple peripheral you trust, then add the rest back in a fixed order: keyboard, mouse, a card reader with no card, an externally powered device, noncritical storage, and last the original failing device. Change the order any time it would put important data at risk. After each addition, wait for Windows to finish, then note which existing device, if any, falls off. If adding one device knocks an earlier one out, remove only that device and repeat, then try it straight on the computer or on another documented dock port. A repeatable result there points to a device conflict, a shaky cable, a port grouping, or a combined power limit, which you can describe without having to name the cause yourself. Do not open with two drives and simultaneous transfers. And if nothing is actually broken, and the dock has simply run out of room once everything is plugged in at once, that is a fit question rather than a fault. When the dock has genuinely run out of room for what you run, match a new one to your devices by port role, not by socket count, in the USB-C docking station guide, and a smaller USB-C hub can be the better answer when a full powered dock is more than the job needs, as long as it fixes nothing on a peripheral you have not yet confirmed on its own.
Is the dock broken or just outgrown?
The three branches split into one question: is the dock faulty, or has it simply run out of room? A whole USB controller or host link that never comes up, and a documented data port that stays dead with two known-good devices, are faults for the dock’s maker. A dock that carries every device until the last one joins is not faulty at all; it has run out of downstream data or power for everything at once. The small things come first, so swap a downstream cable only when the same device and port fail with the original and work with a known-good one, and call the dock outgrown only when it genuinely lacks the port role, the protocol, or the layout you run, never because one crowded session dropped a drive.
Frequently asked questions
Why do my dock monitors work but the USB ports do not?
Display output and downstream USB data are separate dock functions. Working video confirms that display route and says nothing about the dock’s USB hub, its individual ports, or your peripheral.
Why does my phone charge but never appear in Windows?
Power is present and USB data is still unconfirmed. Check the dock port’s documented role, use a cable known to carry data, unlock the phone if its data mode requires that, and watch Device Manager as you connect.
Should I uninstall all USB controllers?
No. Record the exact affected hub or device and its status first. Removing every controller can break devices that were working and destroys the evidence you need.
Why does a drive work directly but disconnect through the dock?
The docked route adds a host cable, a hub, a downstream port, and possible power limits. Protect the data first, then hold the drive fixed while you isolate each added layer.
Can Windows power settings disable dock USB ports?
Power state can be relevant, but do not disable power management globally as a first move. Reproduce the exact condition, such as a failure only after sleep, then follow current support instructions for your computer and dock.
How can I tell whether the dock USB hub is detected?
Open Device Manager, compare the tree before and after you connect the dock, and look for the named hub or a new USB entry. Then open its Properties and record the exact status.
Should I buy a new dock if one USB port fails?
Not before testing that port with two simple known-good peripherals and confirming the manual assigns it a data role. If the failure follows a supported port, contact the maker with that evidence.
Sources
A dock that charges but shows no device is a downstream USB data problem, and Microsoft’s USB-C troubleshooting page keeps the connector, the port roles, and power apart so you can tell which one failed. Device states use its Device Manager error-code guidance and supported driver-update path. Microsoft’s Surface USB-C Travel Hub page supplies an exact-model example of separate upstream, downstream, display, and network port roles, and it describes that hub only. USB-IF’s USB Type-C language guidelines separate the connector’s identity from its implemented data and power functions. Power limits, data roles, firmware, and port assignments are whatever your exact device manuals state, not what a connector’s shape implies.