Select the monitor microphone in Settings > System > Sound > Input and make a Windows test recording before opening Teams, Zoom, or a browser call. If Windows records and plays your voice, the monitor microphone path works and the remaining fault is inside the app or its permission. If the monitor input is missing or the Windows sample is silent, stay with the device, mute, and USB upstream checks below.
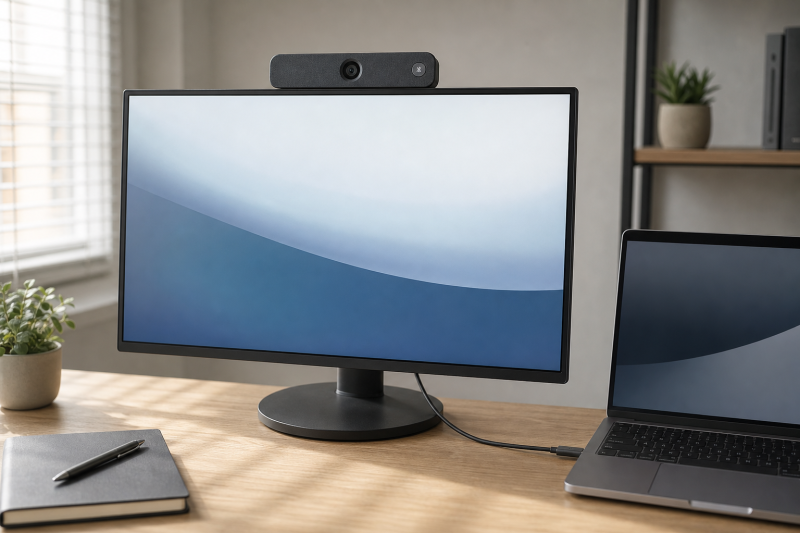
First confirm the full monitor model actually includes a microphone. A webcam-shaped housing, speakers, or a USB-C hub does not prove that a microphone is installed.
Let one Windows sample choose the branch
Open Settings > System > Sound. Under Input, select the entry that matches the monitor microphone. Microsoft then provides a direct test: open that input’s properties, choose Start test, speak normally, choose Stop test, and play the recorded sample.
If your voice plays back clearly, Windows can capture from the monitor microphone, and every remaining check belongs to the application and its permissions. If playback is faint rather than absent, the device is capturing at a low level, so work on input volume and speaking distance first. Confirm that Windows recorded the endpoint you meant. When a different microphone answers the test, re-select the monitor input by its exact name and run the sample again.
If the sample fails, look at whether the monitor’s other USB devices survived:
- The monitor microphone, webcam, and USB ports are all missing from Windows. Treat the shared USB upstream data path as the fault and work through the connection route below.
- The monitor’s other USB devices work, and only the microphone is absent or silent. Prove the exact model has a microphone, then work through mute, input volume, and the exact device properties.
Do not use a meeting app as the first test. Its account settings, selected device, site permission, noise processing, and mute state add extra variables before the Windows path is known.
Prove that the monitor has a microphone
Find the exact model number on the monitor label or in its on-screen information page. Open the official user guide and look for a microphone specification, microphone opening, mute control, and USB upstream requirement.
Dell’s U3223QZ is a useful exact-model example: its official manuals describe a conferencing monitor with a selectable Dell monitor webcam/microphone device, a microphone mute control, and an upstream USB connection. Those details do not transfer to another Dell model, much less every USB-C monitor.
If the manual lists no built-in microphone, stop. Select the laptop microphone or connect a supported external microphone. Do not install audio packages to create hardware that is not present.
If the manual does list a mic, copy its Windows device name and the documented mute behavior. A camera module can expose video and microphone as separate endpoints, so a working webcam does not prove that Windows selected its audio input.
If the Windows sample works, stay in the app layer
Keep the monitor microphone selected in Windows. Open Settings > Privacy & security > Microphone and check the controls that apply to the failing application.
Microsoft separates:
- system microphone access;
- access for apps;
- individual Microsoft Store app access; and
- access for desktop apps as a group.
Turn on only the access the intended application needs. Desktop apps do not appear as individual toggles in the same way Store apps do, so use the desktop-app access control when the call software is a conventional desktop program.
Next, open the app’s own audio settings and select the same monitor microphone by name. Make a local test call or recording if the app offers one. If Windows captures the sample but the app does not, do not change the USB-C cable, reset the monitor, or reinstall the monitor device. The working Windows sample has already placed the remaining fault above the hardware path.
For a browser call, also inspect the site’s microphone permission and the browser’s selected input. Keep one app open during the comparison so another program does not take exclusive control or switch the default device mid-test.
If the device exists but the sample is silent
Leave the monitor input selected and open its properties in Windows Sound settings. Confirm that input volume is not at zero. Speak from the distance and direction specified by the monitor manual; a microphone built into the top bezel may not capture a voice aimed away from it.
Then check every mute surface that belongs to the exact model:
- Windows input mute or volume.
- The monitor’s physical microphone-mute button, if documented.
- The monitor on-screen microphone control, if documented.
- The application’s mute state, but only after the Windows sample works.
Use any mute light according to the exact manual. Light colors and button behavior are model specific. The Dell U3223QZ record proves that a monitor can have a hardware microphone mute; it does not define another monitor’s indicator.
Repeat the Windows sample after changing one mute state. If the meter begins moving, restore the other settings and keep the single change that fixed it.
If the monitor microphone is absent, inspect USB data
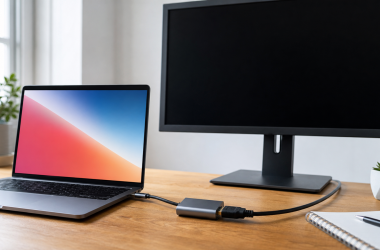
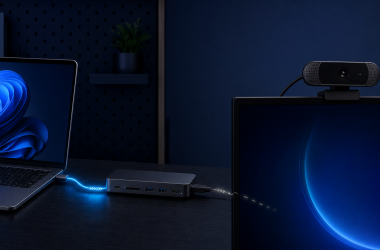
The picture can work while the microphone is missing because the display and USB-peripheral paths are separate. On a supported USB-C monitor, one upstream USB-C cable may carry both. With HDMI or DisplayPort video, the monitor may need an additional USB upstream cable for its camera, microphone, hub, or Ethernet functions.
Write the current route in one line:
computer port -> cable or dock -> monitor input/upstream port
Then compare Device Manager before and after reconnecting only the documented monitor upstream cable. Record which monitor-related entries disappear and return, and do not uninstall any of them.
Use these companion-device observations:
- If the monitor webcam, USB ports, and microphone all disappear, investigate the shared USB upstream path.
- If the webcam and hub work but only the microphone is absent, keep the other monitor USB devices connected.
- If the picture works through HDMI/DisplayPort but no monitor USB device appears, connect the separate upstream USB cable required by the exact manual.
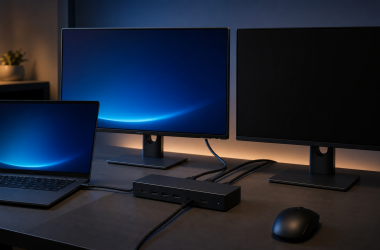
- If a dock or extension is present, compare one documented direct host-to-monitor connection before changing drivers.
If the only fault is webcam video, leave this page and use the USB-C monitor webcam guide. The general USB-C monitor guide remains the correct route when the display or the entire monitor connection fails.
Make one exact change and repeat the Windows sample
Change one thing at a time, and keep each change inside what this page has already established: the selected input in Windows Sound settings, the input volume for that endpoint, the microphone permission that applies to the failing app, the mute state documented for the exact model, or the documented upstream cable route.
After each single change, run the same Windows recording again and repeat the companion-device comparison in Device Manager.
- If your voice now plays back, keep that one change and restore every other setting you altered while testing.
- If the microphone is listed but the sample is still silent, return to input volume and the mute controls documented for the exact model.
- If the microphone is still absent while the webcam and monitor USB ports keep enumerating, the fault stays microphone-specific.
- If the webcam and hub disappear alongside the microphone after a change, undo that change and return to the upstream USB route above.
Sources
Microsoft’s microphone troubleshooting procedure supplies the Windows input selection and recorded-sample test. Its camera, microphone, and privacy guide defines the separate app and desktop-app access controls. Dell’s U3223QZ manuals record is used only as an exact conferencing-monitor example for microphone presence, mute, device selection, and upstream USB. Dell’s monitor USB upstream guidance supports the separate video-versus-data path.