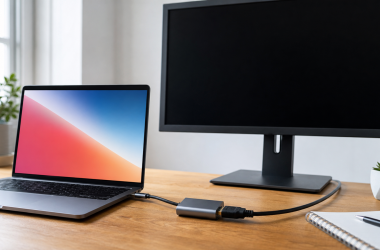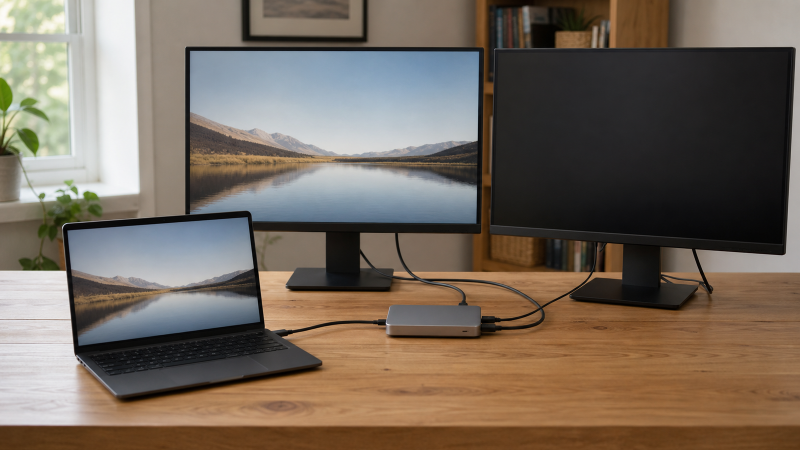
One test settles most of this, and it takes about two minutes. Unplug the second monitor from the dock and plug it, on its own, into the exact output and cable that already drive your working screen. Then plug it back into the dock and watch what Windows does when both screens are asked to run at once. Those two results, monitor 2 by itself and the two of them together, sort almost every version of this fault into a short list of outcomes.
The reason the test works is that a single screen and a pair of screens are not the same load on a dock. Most “second monitor not detected” cases are not a dead port or a dead panel at all. The parts each work when you try them one at a time, and the dock simply cannot hand your computer two display streams at once through the two outputs you picked. So the question you are really answering is narrow: does monitor 2 fail on its own, or only when it has to share the dock with monitor 1?
Write one line per screen before you unplug anything, naming the host port, the dock output, the cable, and the monitor input each one uses. A useful line reads “laptop left Thunderbolt port to dock upstream, dock DisplayPort to monitor 1, dock HDMI to monitor 2 HDMI 1.” A note that just says “USB-C to two screens” tells you nothing an hour from now. Take a photo of the back of the dock while you are there.
Run monitor 2 on the route you trust
Disconnect monitor 1 and connect only monitor 2, through the same output and cable that just failed, leaving the computer, the dock power, the host cable, and the host port exactly as they were. Power the monitor the way its manual asks, and pick the input you actually plugged into by hand, because a No signal message on HDMI 2 says nothing about a cable sitting in HDMI 1. Open Settings, System, Display, expand Multiple displays, and choose Detect, which Microsoft describes as asking Windows to look again for a connected display. If the picture comes up, choose Identify so the Windows number matches the panel in front of you.
One USB-C plug does not tell you how many display streams your computer can send, so check the host port against the maker’s specification while you are here. The USB-C DisplayPort Alt Mode check matches your port to what the machine actually drives. A port that only charges will never carry a second screen, and no Windows setting changes that.
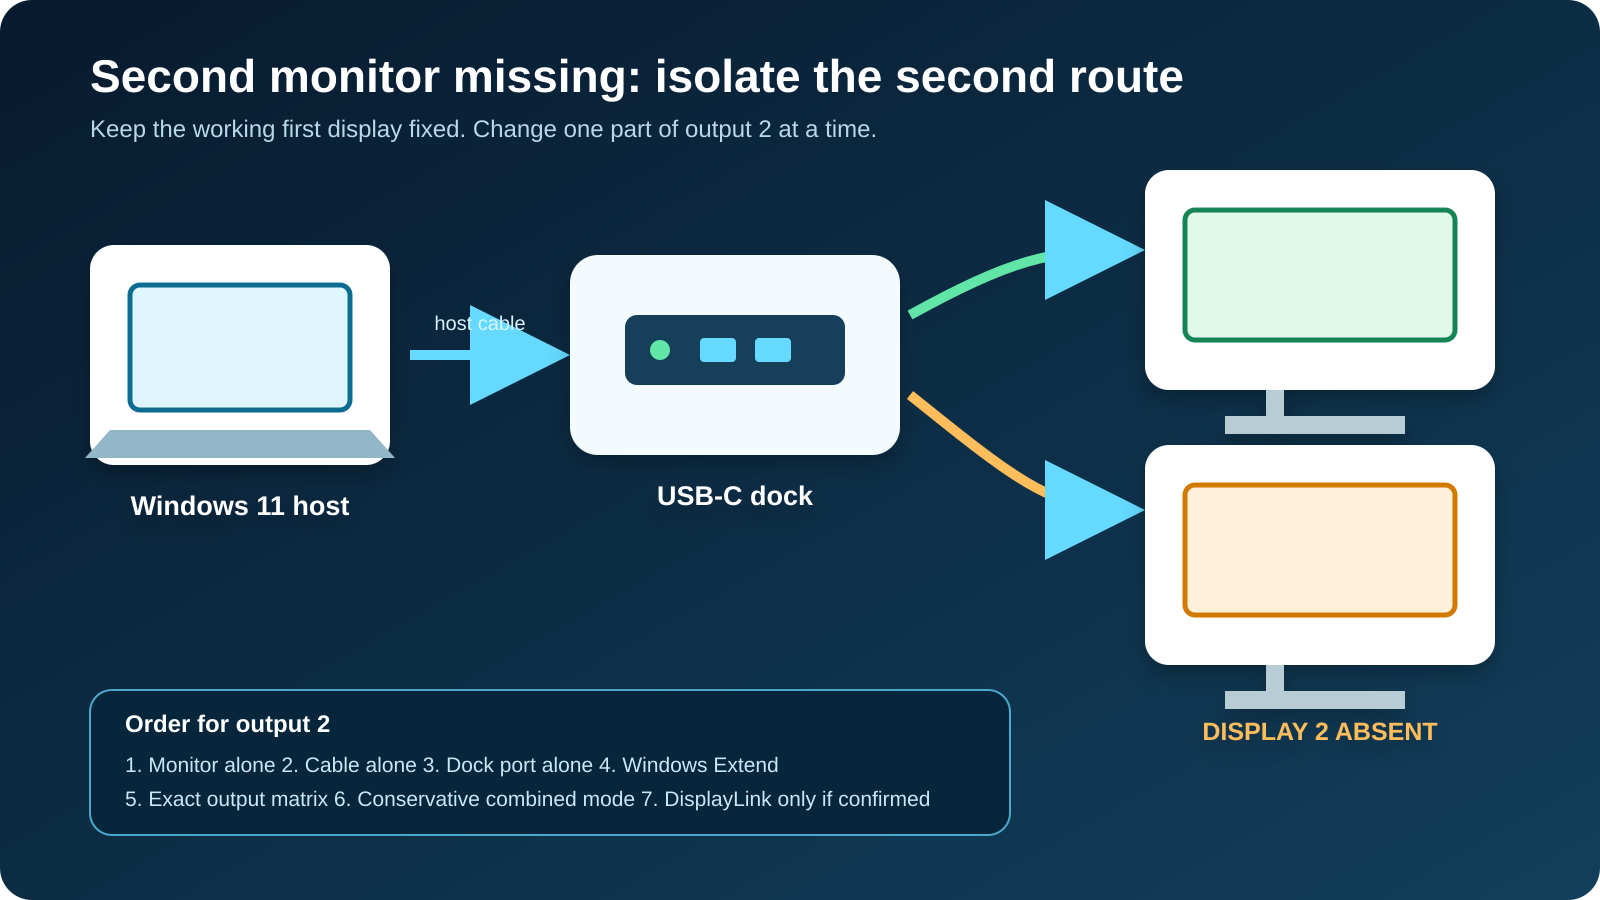
Read the result of the alone test against the pair, and the outcome tells you which section below to read next:
| Monitor 2 alone | Both connected | Where the fault lives |
|---|---|---|
| Shows a picture | Windows still lists only one | The pair, not the parts. Work the layout first, then the dock outputs. |
| Shows a picture | Two rectangles appear | Layout or a mode. Bring the pair up gently. |
| Stays dark on its own | Not reached yet | The monitor or its own cable. Prove it on another source before touching the dock. |
| Windows lists it, panel is black | Not reached yet | Wrong input or an unsupported mode on that panel. |
If monitor 2 stays dark on its own, move it and its cable to another source that uses the same input, such as a console, a desktop, or a second laptop. A picture there sends you back to the dock output. No picture anywhere makes the monitor or its cable the fault, and the dock plays no part yet. Change a cable only once this kind of swap points straight at one. The USB-C cable guide helps when the failed route uses a removable USB-C cable, but it is no reason to pull an untested HDMI or DisplayPort lead. And if neither external screen ever appears, this is a no-signal problem, not a second-monitor one, so start with the USB-C monitor no-signal guide instead.
Both screens work alone but you still get one desktop
When each monitor lights on its own and reconnecting the pair gives you two rectangles in Display settings, the wiring is fine. What is left is how Windows is arranging the two screens, or what mode the pair is trying to hold. Leave the hardware alone here and work the settings.
Choose Identify to see which rectangle is which. Press Windows key + P and pick Extend for a normal second desktop. Microsoft lists PC screen only, Duplicate, Extend, and Second screen only as the choices, and PC screen only will hide a screen that is working perfectly, while Duplicate can offer a different set of shared modes than Extend. If Windows marks the second display as disconnected, click its rectangle and extend the desktop onto it. Once both show, open Advanced display for each and read the signal resolution, the desktop resolution, and the refresh rate. Those readings describe the picture Windows is drawing right now. They do not certify the cable or the dock, and pressing Detect again cannot add a display stream the dock never sent.
Bring the pair up gently
The combined-display limit is the heart of this article, and this is where you meet it. Two screens that each run fine alone can fail together simply because the dock has to move both pictures through one host link at once. So connect the pair at settings both devices allow, turn optional features off, and change one thing at a time. Pick a resolution and refresh rate the display and the dock both list for two screens, then adjust one display’s mode per pass. Moving resolution, refresh rate, HDR, cables, and outputs all at once hides which change actually brought the second screen back.
If the pair only holds after you lower one display’s mode, write down the before and after. The combined demand outran what that route could carry. A single screen would have been fine, which is exactly why the fault looked like a dead second monitor. That does not mean a cable is bad, and it does not turn a connector label into a bandwidth number. Push refresh rates only after both screens hold a plain image, using the 4K and 144 Hz path guide when you get there. If the two screens run in a chain through one monitor rather than into two dock outputs, the rules change, and the USB-C monitor daisy-chain guide covers the monitor’s upstream and downstream roles and its Multi-Stream Transport setting.
Rebuild the pair in a fixed order
Once the parts hold, bring the whole setup back one connection at a time, so any relapse is obvious the moment it happens:
- Shut down or disconnect as the dock and monitor manuals require.
- Connect dock power and the host cable the maker names.
- Connect only monitor 1 through its known-good route.
- Start Windows and confirm monitor 1.
- Connect monitor 2 through its separately confirmed route.
- Select the correct input on monitor 2.
- Choose Extend in Windows.
- Confirm both displays at plain, well-supported modes.
- Add any KVM, receiver, extension, or extra adapter, one at a time.
- Raise display modes and turn features back on, one at a time.
Whatever step drops monitor 2 is the one to repeat, so run that step twice to be sure the symptom follows it. Stop if a connector is loose, deformed, damaged, or hot, and use the maker’s support route rather than repeating hot-plug tests on it.
When the second rectangle never shows up
Sometimes monitor 2 lights beautifully on its own, and the second rectangle still refuses to appear the instant both are plugged in. That is the pure form of the combined-display limit: the dock is not sending your computer a second stream in this pairing. Two things decide whether you can configure your way out or not, which output you are using and what the dock was built to drive from your host.
Move the good monitor across each output
Take the monitor and cable that already lit alone and walk that same pair across the dock’s display outputs, one at a time, with no second screen attached. Note which outputs bring up a picture and at what resolution. Sockets that look the same often do different jobs. A downstream USB-C port may carry data and power with no video at all, while the Thunderbolt port beside it has a display role its neighbor lacks. The host-facing side matters for the same reason, because a host cable in the wrong socket can leave the dock lit and charging while the display path it needs is simply not connected. If the dock came with a host cable and the manual asks for it, use that one.
When every monitor lights from output A and nothing lights from output B, the fault follows output B. Before you call it broken, the dock’s own display table decides whether that output only works in one pairing, needs a Thunderbolt host, shares a resource with another connector, or is data-only. Find the manual or specification for your exact model and revision, and read it for answers instead of guessing from the sockets:
- Does the dock drive two external displays on Windows?
- Does that need Thunderbolt, USB4, or DisplayPort Alt Mode from the host?
- Which two outputs may run together, and are any two mirrored or mutually exclusive?
- Does one USB-C display output go dark when another named port is in use?
- Are the supported pairings different for a USB-C host and a Thunderbolt host?
- Does the dock use native DisplayPort, DisplayLink USB graphics, or both?
Microsoft’s Surface USB-C Travel Hub is a clean example of why this is model-specific. Microsoft states that the hub’s HDMI and VGA outputs cannot be used at the same time. That rule is about that hub, but the lesson carries: two video-shaped outputs do not add up to a two-display dock. A model with one native output and one DisplayLink path can drive more screens than the host’s native path alone, but only when the DisplayLink hardware and its software are both present. If the manual shows your dock cannot supply the pair you want from your host, no Windows setting is hiding a second screen. Keep that page, and compare a dock whose dual-monitor topology matches your host. At this point the choice is about the pair, not a repair. Swap a monitor-side cable only when the fault follows that cable between two otherwise fixed, compatible routes. Past that, if the dock’s own table says it cannot drive the two screens you want from your host, no dock of the same design will either, and you are choosing a different topology rather than a different unit. Compare docks by what each one really does with two screens, not by socket count: the USB-C docking station guide covers native USB-C choices, a monitor with a built-in dock can clear the desk when the host supports it, and the dual-monitor docking station guide sorts models by their two-display topology.
When one output runs on DisplayLink
Install DisplayLink software only after the product page names a DisplayLink chipset. Guessing adds a USB graphics device you may not need. Synaptics describes DisplayLink as USB graphics used in docks, adapters, and monitors, and warns that a device maker may ship a package that differs from the general release. For a confirmed DisplayLink output, keep a native screen connected as your reference, check that the DisplayLink device shows up where you expect on the USB side, start with the dock maker’s Windows support page, and apply the Synaptics package only when the maker points you there. For a native DisplayPort Alt Mode or Thunderbolt output, DisplayLink software has nothing to do with the fault. The DisplayLink dock guide explains the category, which is a design choice more than a driver fix, so keep the two paths apart even while one screen is working.
Topology limit or broken output?
One question the alone-versus-together result leaves open is whether a stubborn one-screen result is a limit or a fault, and the dock’s own display table settles it. If that table does not list your output pair for your host, the single rectangle is the dock behaving as documented, and no Windows setting will add the stream it never carried. If the table does list the pair and two known-good monitors still fail to run together on two computers, the output has genuinely failed rather than refused an unsupported combination. A monitor that also goes dark from another good source is the panel itself, by its model, input, and cable, and it stays out of the dock decision entirely.
Frequently asked questions
Why does my USB-C dock detect only one monitor?
A first working route does not prove the host supplies a second native display path, and it does not prove the two outputs you chose can run together. Prove monitor 2 alone, then read the dock’s display matrix.
Why do both monitors work separately but not together?
Separate success clears each one-screen route and nothing more. The combined pair or the requested modes may be outside what the dock documents. Test the documented pair at conservative modes.
Can Windows 11 Detect force the second monitor to appear?
No. Detect asks Windows to look for a connected display. It cannot add video support, create another display stream, or enable a combination the dock prohibits.
Does a Thunderbolt dock always support two external monitors?
No. The connector and the Thunderbolt name do not settle it. The exact computer, operating system, dock, outputs, displays, and requested modes decide the result.
Should I install DisplayLink for a missing second monitor?
Only when the exact dock or adapter contains DisplayLink hardware and its official instructions call for the software. DisplayLink does not repair a native output.
Why does lowering the refresh rate make the second display appear?
The changed combined mode altered what the whole route could carry. Compare the stable and unstable states against the dock and host documentation, and do not assign the cause to one component without a substitution.
Can a monitor with a built-in dock replace a separate dock?
Sometimes. Its upstream connection, downstream display support, charging, and port roles all have to match your host and your second-screen plan. The docking monitor comparison explains the trade.
Sources
The Surface USB-C Travel Hub sets the model-specific boundary for a second monitor: Microsoft states its HDMI and VGA outputs cannot run as a pair at once, so two video-shaped outputs do not make a two-display dock, and that rule is the hub’s alone. The general Windows behavior lives in Microsoft’s multiple-monitor guide, external-monitor troubleshooting, and USB-C troubleshooting, and the hub limit above is its Surface USB-C Travel Hub documentation. DisplayLink is Synaptics’ own, in DisplayLink Graphics and its Windows download guidance. Display counts and supported output pairs are whatever your dock and computer maker document, not what the sockets suggest.