The Rise of the Containers is something that we have been seeing on an enormous scale in the last few years. Kubernetes, with the container model, solves a lot of our modern problems to make our jobs easy. In this tutorial, we are going to see how to run a single-node Kubernetes cluster using Minikube in Ubuntu 20.04 LTS step by step.
Table of Contents
Step 1: Setup Docker Runtime
As per the official documentation of Minikube, To set up Minikube, we will need a container runtime or virtual machine managers such as Docker, KVM, or Virtual Box, running to be used as a driver.
The default driver setting of Minikube is to use Virtual Box as its driver. You need VT-x (Virtualization technology) enabled in BIOS to run a virtual machine manager such as Virtual Box. But If you are trying to set up Minikube inside a VM or VPS (Virtual Private Server), you will most probably have VT-x disabled hence won’t be able to use Virtual Box as an option.
To solve that, we need to set up Docker runtime on our machine.
Install Some Essential Packages as Prerequisites
curl – To transfer data between servers
sudo apt-get install curl
apt-transport-https – lets the package manager transfer files and data over https
sudo apt-get install apt-transport-https
ca-certificates – lets the web browser and system check security certificates
sudo apt-get install ca-certificates
software-properties-common – provides some useful scripts for adding and removing PPAs (Personal Package Archives)
sudo apt-get install software-properties-common
Add the Docker Repositories for Installation
Let’s add the GPG key and the repository by running the following commands
curl -fsSL https://download.docker.com/linux/ubuntu/gpg | sudo apt-key add -
sudo add-apt-repository "deb [arch=amd64] https://download.docker.com/linux/ubuntu $(lsb_release -cs) stable"
Run an apt update to update repository information
sudo apt update
To make sure we are installing from the docker repo, run the following command:
apt-cache policy docker-ce
The correct output of the status should contain something like
docker-ce:
   Installed: (none)
Install Docker
Run the following command to install docker-ce (Docker – Community Edition)
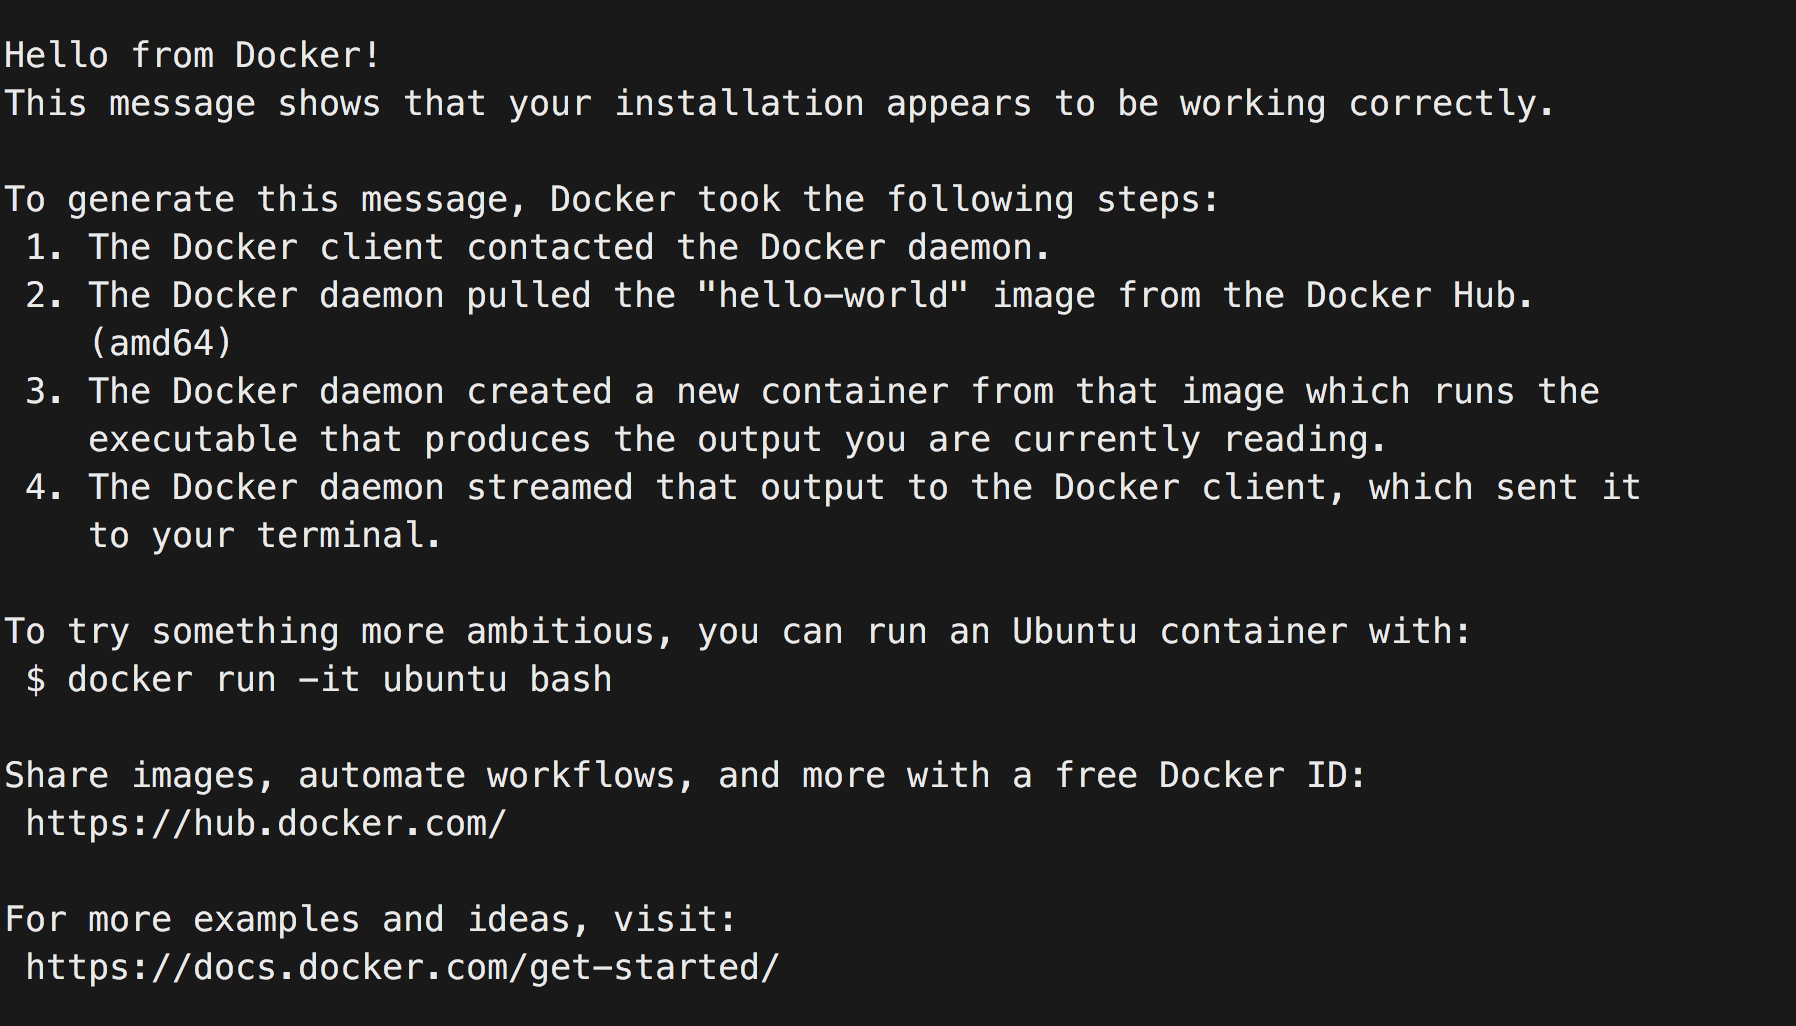
Test docker installation with the ‘Hello world’ test image provided by Docker.
sudo docker run hello-world
You will see the image running with an output like this:
Now that Docker is installed, we’re one step closer to installing Minikube.
Step 2: Add User to the Docker Group
Docker currently requires root permissions to run. When we use docker as a driver, it forces us to run Minikube with root permissions, which is not allowed.
We need to solve this by adding the current user to the docker group to use Docker without root permission.
To add the current user to the docker group, Run
sudo usermod -aG docker $USER && newgrp docker
Step 3: Install Minikube
Minikube is a tool to run single-node clusters locally to learn and develop for Kubernetes quickly.
To install Minikube, let’s start with downloading the latest binary using curl:
curl -LO https://storage.googleapis.com/minikube/releases/latest/minikube-linux-amd64
Run the following command to install the binary we downloaded:
sudo install minikube-linux-amd64 /usr/local/bin/minikube
Now you can start your minikube cluster with docker as your driver by running:
minikube start --driver=docker
You will see the following output of minikube starting with docker

Note: The recommended resources for Minikube is 2GB of memory with 2 CPUs for seamless deployments. The server I’ve used had less memory available; hence we see a warning for memory in the above screenshot.
Let’s install Kubectl and interact with our K8s cluster by running the following:
sudo snap install kubectl
Check the pods running with Kubectl (-A to see all pods, including kube-system pods)
kubectl pods -A
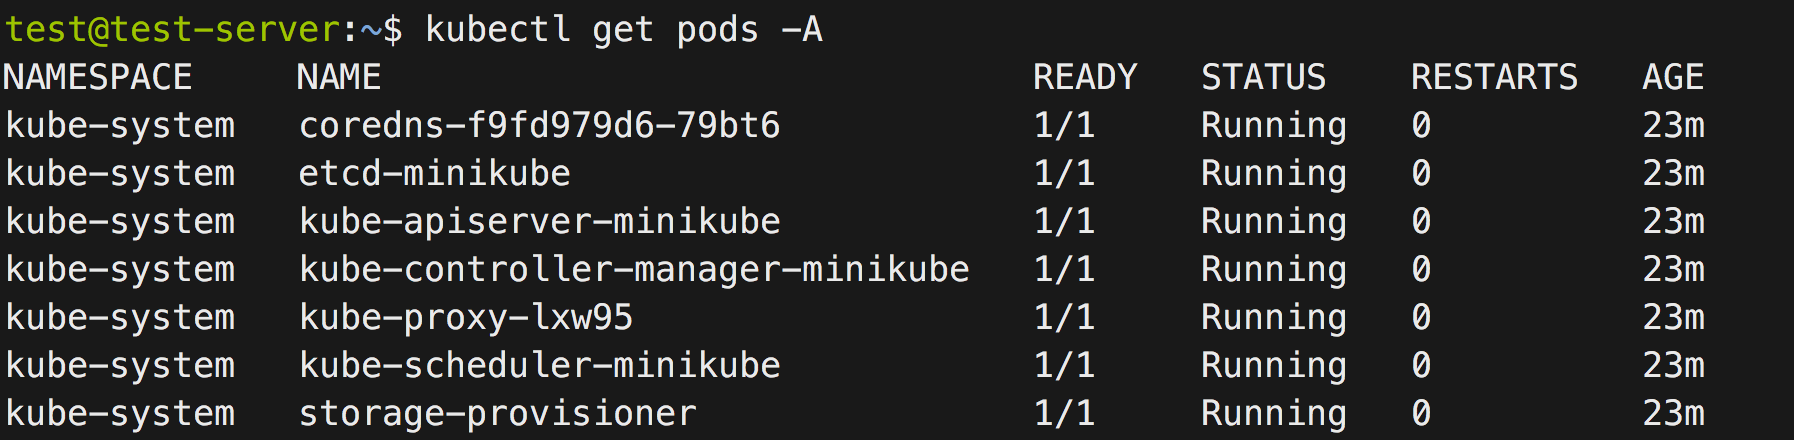
Minikube is now set up, and we can start deploying our services with Kubectl.
Let’s now test the K8s set up running an Nginx server. Here’s a pod template YAML for Nginx :
apiVersion: v1
kind: Pod
metadata:
  name: reverse-proxy
  labels:
    app: backend

spec:
  containers:
    - image: nginx
      name: nginx
Let’s store it in a file called pod.yaml and apply it with Kubectl by running the following command.
kubectl apply -f pod.yaml
In a few seconds, you will be able to see the Nginx server running with the given name ‘reverse-proxy’ by running the following
kubectl get pods

Let’s now port-forward it to one of the machine’s local ports to test it.
(Nginx runs on port 80 inside the container by default, and we’re port forwarding it to 8080 of the machine’s port to test)
kubectl port-forward reverse-proxy 8080:80
And you will see it being forwarded like seen below

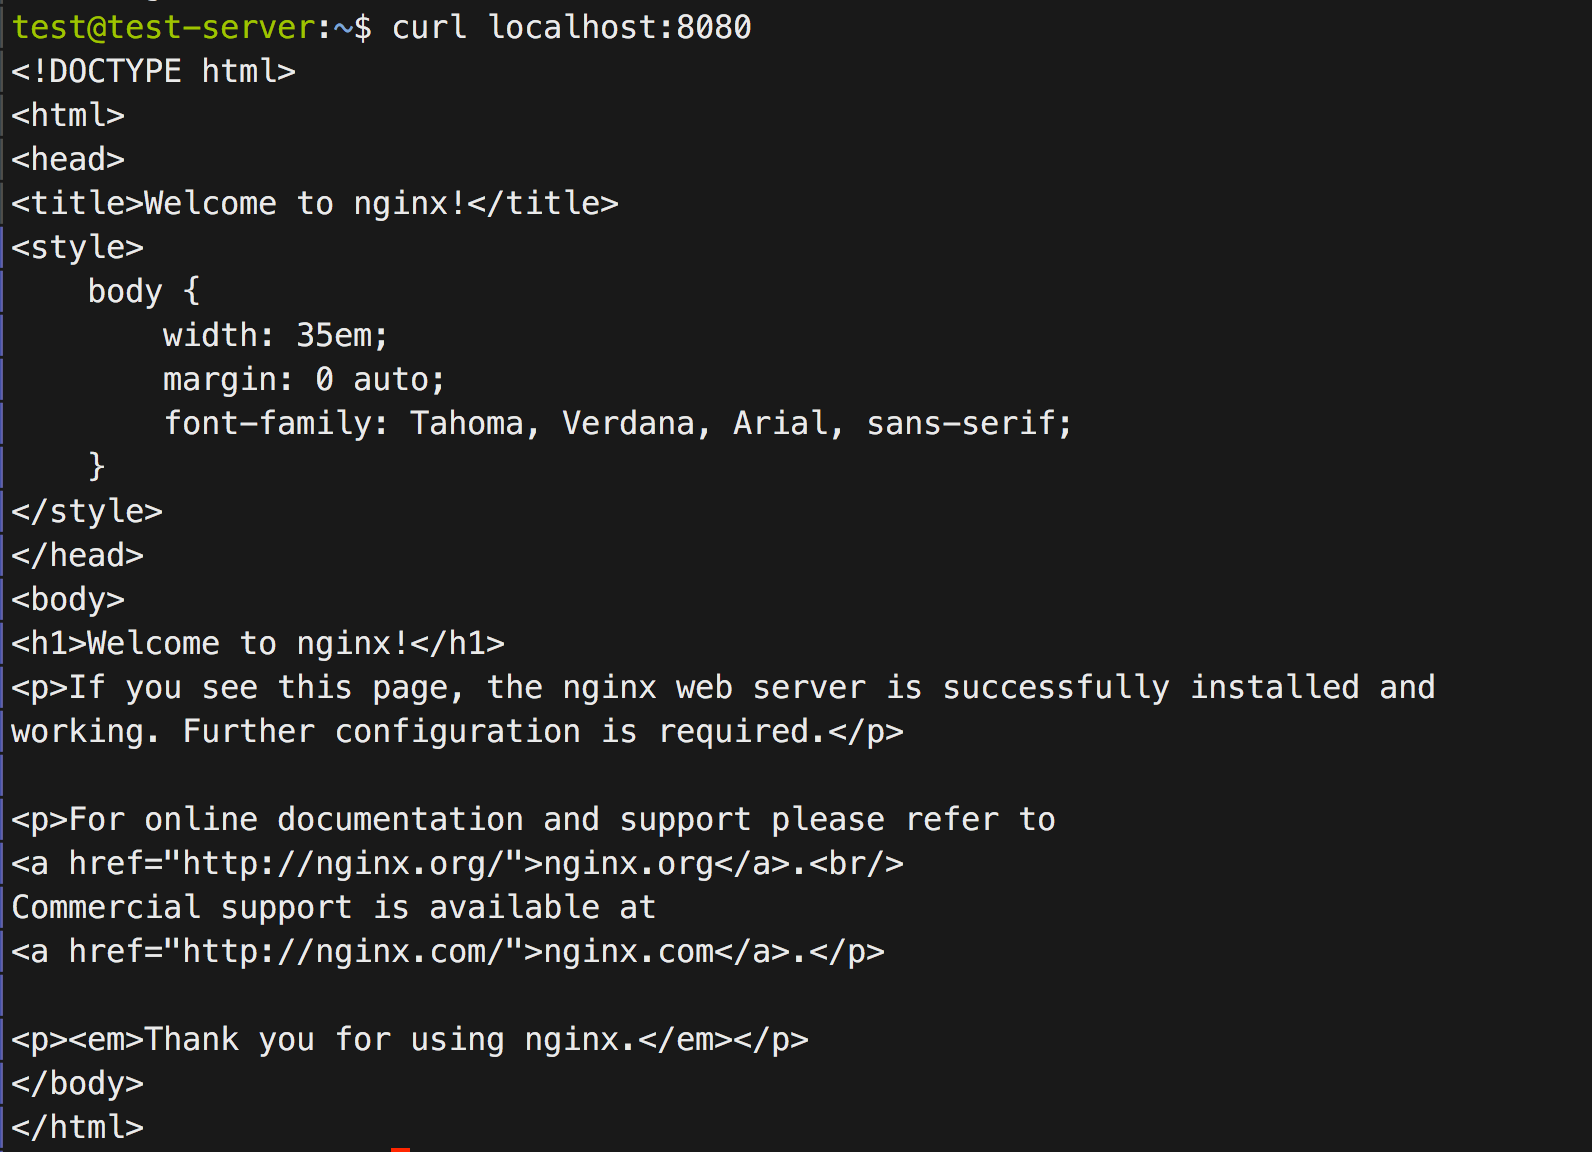
Now let’s open another terminal session and test it locally using curl, and you will be able to see the Nginx home page being served successfully.
curl localhost:8080
To access the same from using a remote address outside the machine, I will be using a tool called Ngrok. Simply put, Ngrok exposes local servers behind NATs and firewalls to the public internet over secure tunnels.
We can simply do this with the following steps.
Install Ngrok using snap:
sudo snap install ngrok
Create a tunnel to Nginx running in local port 8080:
ngrok http 8080
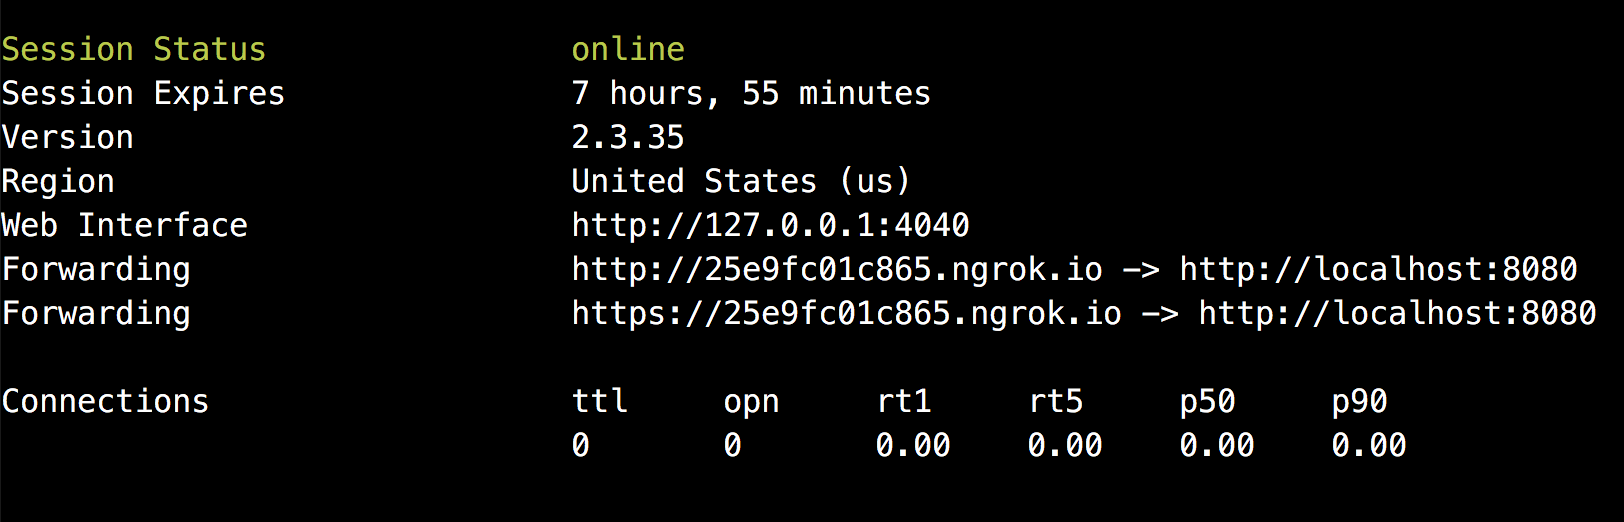
It will be printing HTTP and HTTPS URLs with the Ngrok domain as shown below. You can copy the URL that’s being printed and put it in your browser to access on the public internet.
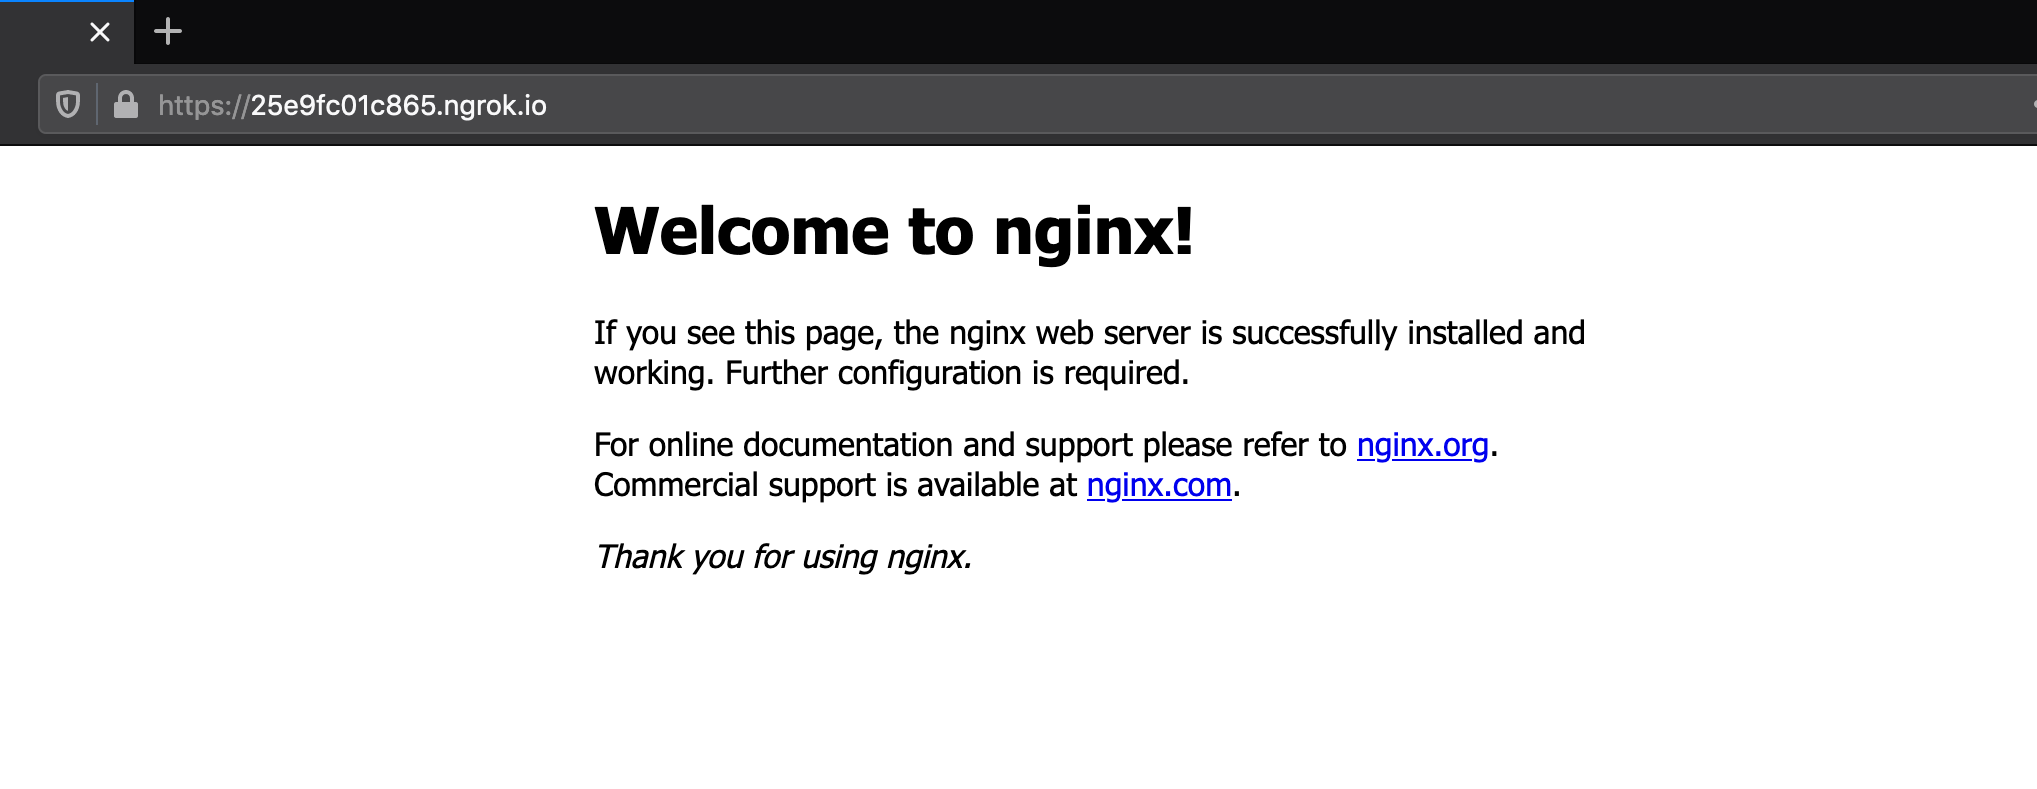
You can see the home page of the Nginx server that’s running in our cluster in any browser, as seen below.
Now we have a K8s cluster running with Nginx deployed as reverse-proxy successfully.